Should you build your own dog agility course?
If you’re still unsure about constructing your own dog agility course, remember that it’s not just for fun or competition. Taking the time to do agility training with your pet is an excellent way for both you and your dog to get exercise, as well as bond together.
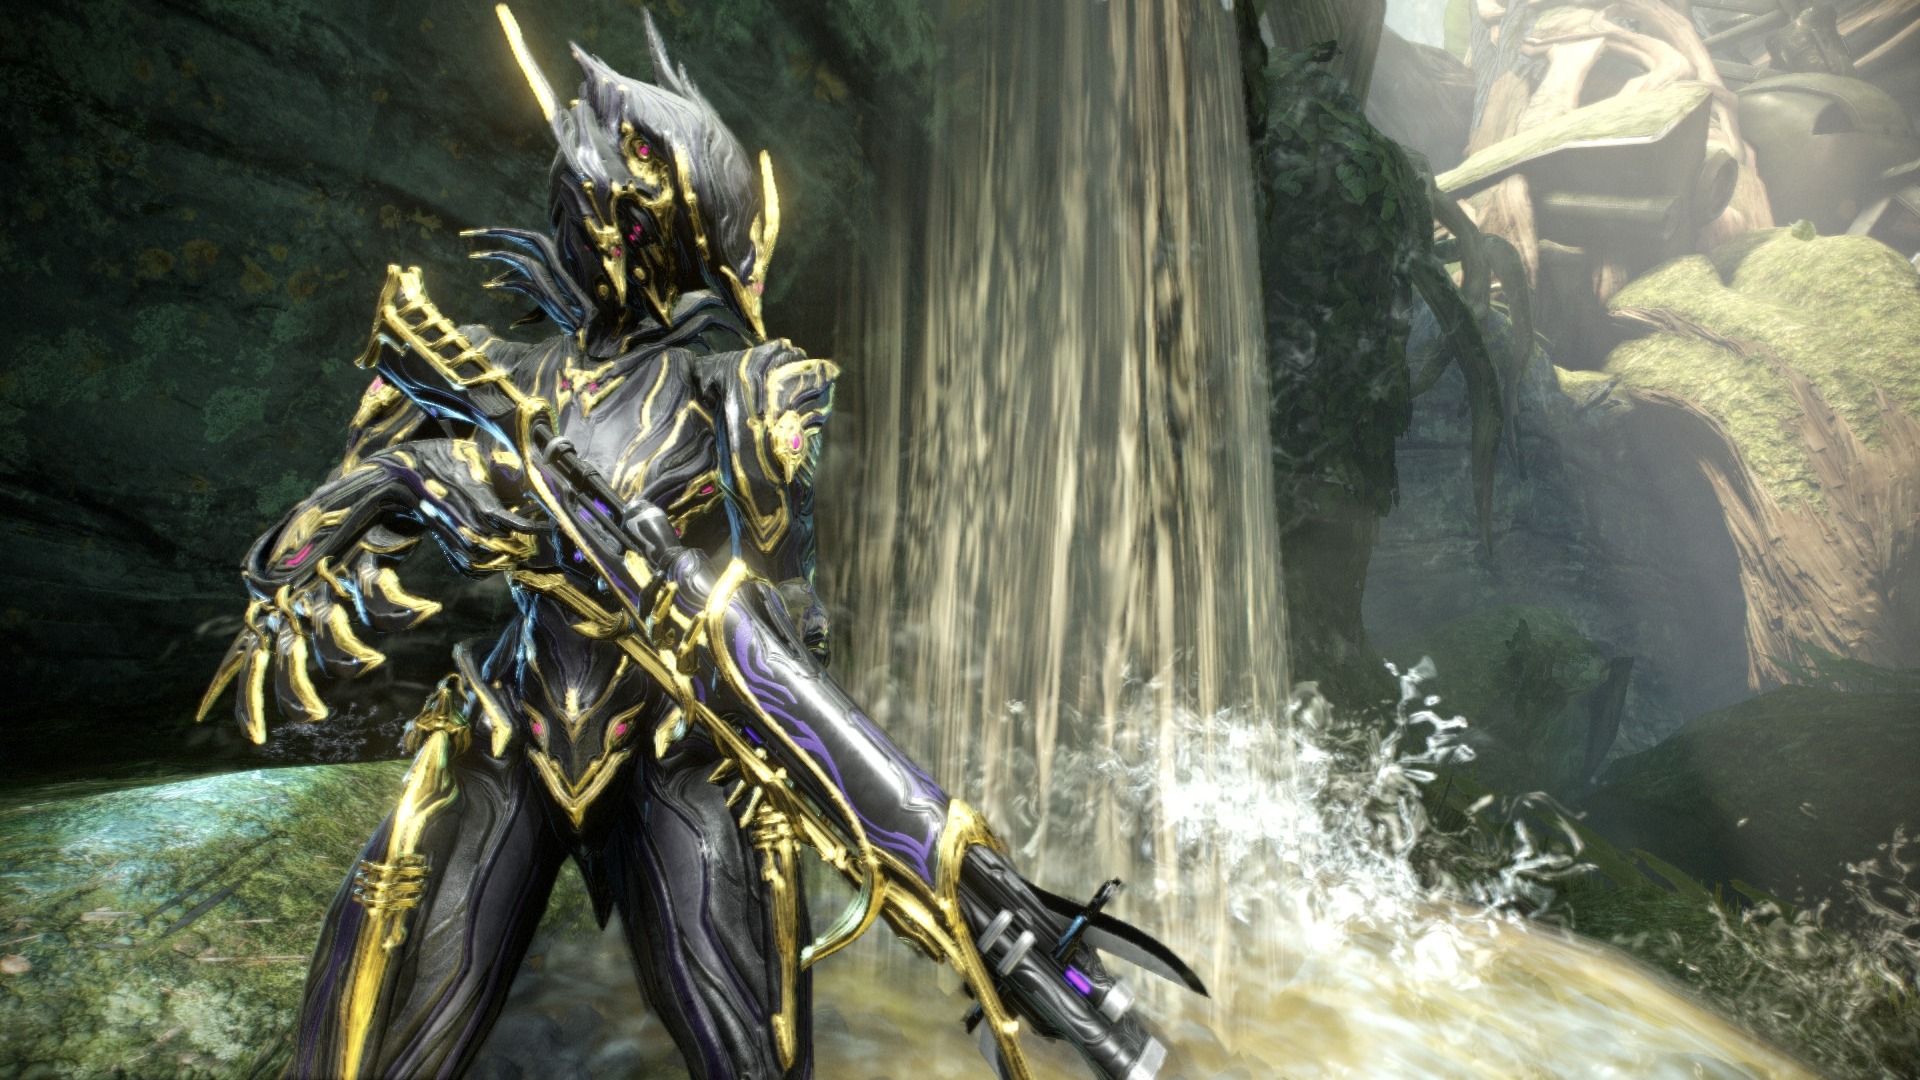
What is the obstacle course in Warframe?
The Obstacle Course allows you to train your navigational and movement skills. All Warframe abilities are disabled during this time. The Obstacle Course contains a variety of obstacles that test multiple skills while trying to achieve the fastest time possible.
How many obstacles are in a dog agility course?
A dog agility course can consist of many different obstacles. There are a total of 15 various obstacles recognized by the AKC that can be used in competitions, but we’re only going to discuss a few of the easier ones that you can build at home.
What can I do to help my dog improve agility?
Download all the plans for this DIY dog agility course here. This jump bar helps Fido build up his hindquarters and develop a better sense of boundaries. It also helps breeds that are prone to hip problems (such as Labs and German shepherds) improve strength and agility.
How to make a long line on a golf course?
How to make a dog board?
How far should a golf cup sit from the ground?
About this website
11 DIY Dog Agility Course Equipment Plans (with Pictures) | Hepper
If you have medium to large dogs, this sturdy dog walk design from Agility Bits is built to last and will hold up in windy weather. You’ll need to be handy with working with wood to follow these plans, though Agility Bits does offer an easy shortcut if you’re willing to buy builders trestles or a pair of sawhorses.
DIY Dog Agility A-Frame : 7 Steps (with Pictures) - Instructables
DIY Dog Agility A-Frame: With A-Frames ranging from $500 bucks to $1,000 or more I figured I would save some cash, have some fun, and build my dog an Agility A-Frame to practice on!On the following pages, you'll see that it's actually quite easy to do, and yes, I am 100% co…
Agility Drills And Course Plans **FREE** - OneMind Dogs
Simple sequences with just a few jumps and a tunnel are the best way to practice applying handling techniques on a dog agility course. OneMind Dogs Agility Training Challenges push you out of your comfort zone!
How to make a long line on a golf course?
Attach the tee-pipe pairs to create one long line. Insert a 12-inch pipe into the tees on either end of the run and fit each with an elbow, a 24-inch pipe, and an end cap. Insert a 40-inch pipe fitted with an end cap into each of the six tees.
How to make a dog board?
Use two weights to slow the descent of the board when a dog is on it. To make them, fill 12-inch lengths of pipes with gravel and cap both ends. Attach the weights as close to the end of the entry side as you can without raising the board off the ground. Secure the weights with metal strapping and 3/4-inch sheet-metal screws.
How far should a golf cup sit from the ground?
The center of each cup should sit 8 inches and 16 inches from the ground. To hold the sides upright, insert a 12-inch pipe into each outlet of the bottom tee; fit one with an end cap and one with another tee. Push two 12-inch pipes fitted with end caps into the base tee to steady the assembly. Assemble the second side.
Where do you spawn when you fall off a platform?
Upon falling off, you will be spawned at the beginning of the previous section's checkpoint you have reached. They are usually at the very end of one obstacle, or the start of a new platform. The locations of the checkpoints are as follows (All respawns are at the start of the platform number unless otherwise stated):
What is Obstacle Course?
Obstacle Course. The Obstacle Course allows you to train your navigational and movement skills. All Warframe abilities are disabled during this time. The Obstacle Course contains a variety of obstacles that test multiple skills while trying to achieve the fastest time possible. You must jump, slide, dodge pillars, wall-run, wall-jump, ...
How many platforms are there in a mini maze?
A strip of 4 are lined across the floor horizontally and 2-3 will rise at random. There are 4 sets of 4 platforms to make a pseudo-mini maze. After the last set, there is a "rest area" with nothing, followed by another set of 4 by 4 pillars.
Can you skip a course with Speed Combo?
After mastering the Speed Combo you can use it to essentially skip parts of the course as the video shows. However, be aware of the "Reset Zones", which will send the player back to the last checkpoint to avoid skipping the entire course.
Can you run more than one person on an obstacle course?
It is possible to get more than one person on the obstacle course at a time. (May be patched. Needs confirmation) There are sections of walls that can be wall run on at the beginning of the course. This is not helpful in any way, but was left as a wall-runnable surface while most of the other surfaces have it disabled.
What You Need to Create an Obstacle Course for Dogs
Jumps are the staple of any DIY dog agility course; there are three types of dog jumps that you can use: the
DIY Dog Agility Courses
A dog agility course can be quite expensive to complete as-is, and it is, in some cases, better to just make the obstacles yourself, with a bit of time, patience, and cheap materials. Here’s a quick guide on setting up your own obstacles and tips to keep your dog agile, which won’t break the bank.
More Advanced Equipment You Can Make at Home
There are, of course, other pieces of dog agility equipment that you can make for your DIY agility course, all of which would be ideal for training your pup. These are not essential but will help to complete your course. For example, good dog agility seesaws are a popular choice.
Conclusion
To create a dog obstacle course for your dog training, you do not necessarily need the best equipment on sale at the highest prices. Simply using your own back yard with household items such as a cardboard box, lightweight poles, a collapsible tunnel, and a few things from the garden like PVC pipes will go a long way.
1. DIY Dog Agility Course, From This Old House
Using PVC pipes, This Old House provides detailed DIY dog agility course plans with helpful pictures to make three key obstacles for your backyard dog agility course. You’ll be able to make an agility jump, weave poles, and a teeter totter. These plans result in sturdy, durable builds.
2. Dog Agility Course at Home, by Natural Dog Owner
You’ll be able to set up your DIY dog agility course using the suggestions and plans supplied by Natural Dog Owner. Every obstacle you’ll need for a complete course is covered in this article.
3. Clean and Dirty Jumps, by Helix Fairweather
Learn how to build dog agility equipment with hurdles with a few simple materials. Helix Fairweather has straightforward plans, including a clever way to use office supply clips as a crossbar hold. You can jump for joy too, because it’s easy on your budget and won’t take you long to construct.
4. Tire Jump, by Camp Bandy Pet Resort
If you want to challenge your dog with a brightly colored and exciting tire jump obstacle, these plans by Camp Bandy Pet Resort offer all the measurements and detailed instructions you’ll need. Also, you won’t need an old tire because a drainage pipe is used to make the ring.
5. DIY Dog Agility A-Frame, by Instructables
An A-Frame is a must-have for any dog agility course worth its weight in dog treats. With a certain amount of woodworking knowledge, you can save money by making your own contact obstacle. Instructibles provides step-by-step instructions, along with plenty of useful pictures.
6. Dog Agility Tunnel, by Cuteness
Every fun or competitive agility course needs a tunnel. It might be easier to purchase a child-size tunnel, but for money-saving purposes, you can DIY a bigger, wider tunnel. Cuteness provides clever plans for a serious tunnel.
7. DIY Agility Dog Walk, From The Dog Blog
If you prefer DIY plans in video form, The Dog Blog offers an excellent “how to build dog agility equpiment” video for making a cute yet sturdy dog walk. The video is easy to follow and full of helpful tips.
What is dog agility course?
First things first—what exactly is a dog agility course? To put it simply, agility is a competitive sport for dogs and their handlers, where the handler must guide their pet through a series of obstacles in a pre-determined order.
Why do dogs need agility training?
A dog agility course will help build up various muscles in your pooch, allowing them to maintain a healthy weight. It’s also a great way for them to learn better obedience!
What is the simplest obstacle to build?
The bar jump is probably one of the simplest obstacles to build. Depending on the size of your dog and whether or not you intend to train them for competition, you’ll have to follow the AKC’s height standards for the jumps.
What are some obstacles that dogs go through?
Weave Poles. One of the most impressive obstacles to watch dogs go through is probably the weave poles. They’re also one of the most challenging to learn, so having a set at home is almost a necessity. Luckily, they’re easy to put together!
What is the purpose of obstacles in agility?
The obstacles are used to train, or just as a means to exercise and bond with your dog. If you’re looking to compete in agility, know that it’s going to take a lot of patience and dedicated training from both you and your pooch.
Is agility good for dogs?
If your pooch is a bit older, you may also want to check with your primary care veterinarian whether agility movements will be beneficial or more harmful to your dog. Most of the time, any exercise will be good exercise, but there are health conditions your pet may have that may call for less intense workouts.
Zareek
I don't care about movement speed increase, so that means the only thing about it that is relevant to me, is armor. Which I can get from Steel Fiber. Maybe I'll change my mind after parkour 2.0 when coptering wont be possible, but til then, this mod is not for me.
TheStag
I run a max Rush on all my Loki builds no matter what. From my experience, it increases his survivability greatly. This just makes him even more faster, and he can take a few more hits.
Leuca
I don't care about movement speed increase, so that means the only thing about it that is relevant to me, is armor. Which I can get from Steel Fiber. Maybe I'll change my mind after parkour 2.0 when coptering wont be possible, but til then, this mod is not for me.
Shifted
I feel like it will help Frost, but I don't have space for it until the rework is done and I don't have to use duration.
4MostlyHarmless2
Depends really on what frame you're sticking it on and where you're taking the frame. If you're going to T4 or long/ high-level survival/ defense, then Armored Agility is kinda useless since the enemy damage and armor scaling quickly outstrips the mod's usefulness in any situation.
Twistedsparkle
I thought this was a pretty nice mod really good for creating high mobility builds with sprint boost+rush+armored agility even the slowest frames can get a moderate speed and +45%armor is nothing to sneeze at Imo this is especially nice for faster gametypes suchs as exterminate,sabotage,deception,capture if its gonna be buffed I'll say I dont think amping up the armor is a good Idea since already with steel fiber the armor bonus is very good and alone decent moar sprint speed? thats always fun and it really doesnt create imbalance Imo so why not?.
Cyborg-Rox
This is basically my thought. I have no need to use a 45% increase of armor when I can just use Steel Fiber and get a significant return on more frames than just Valkyr.
How to make a long line on a golf course?
Attach the tee-pipe pairs to create one long line. Insert a 12-inch pipe into the tees on either end of the run and fit each with an elbow, a 24-inch pipe, and an end cap. Insert a 40-inch pipe fitted with an end cap into each of the six tees.
How to make a dog board?
Use two weights to slow the descent of the board when a dog is on it. To make them, fill 12-inch lengths of pipes with gravel and cap both ends. Attach the weights as close to the end of the entry side as you can without raising the board off the ground. Secure the weights with metal strapping and 3/4-inch sheet-metal screws.
How far should a golf cup sit from the ground?
The center of each cup should sit 8 inches and 16 inches from the ground. To hold the sides upright, insert a 12-inch pipe into each outlet of the bottom tee; fit one with an end cap and one with another tee. Push two 12-inch pipes fitted with end caps into the base tee to steady the assembly. Assemble the second side.
Popular Posts:
- 1. which institute is best for medical transcription course in bangalore
- 2. what is financial management course
- 3. what is the best lsat prep course to take
- 4. how to write a college course curriculum
- 5. how long is billing and coding course
- 6. how long is medical assistant course
- 7. what is pmp training course
- 8. what is a course management system
- 9. what is business management course
- 10. how long is hvac course