Go to LearnDash LMS → Courses in the WordPress admin. Click on the course that you want to list materials in. This opens the LearnDash 'Edit Course' screen.
Full Answer
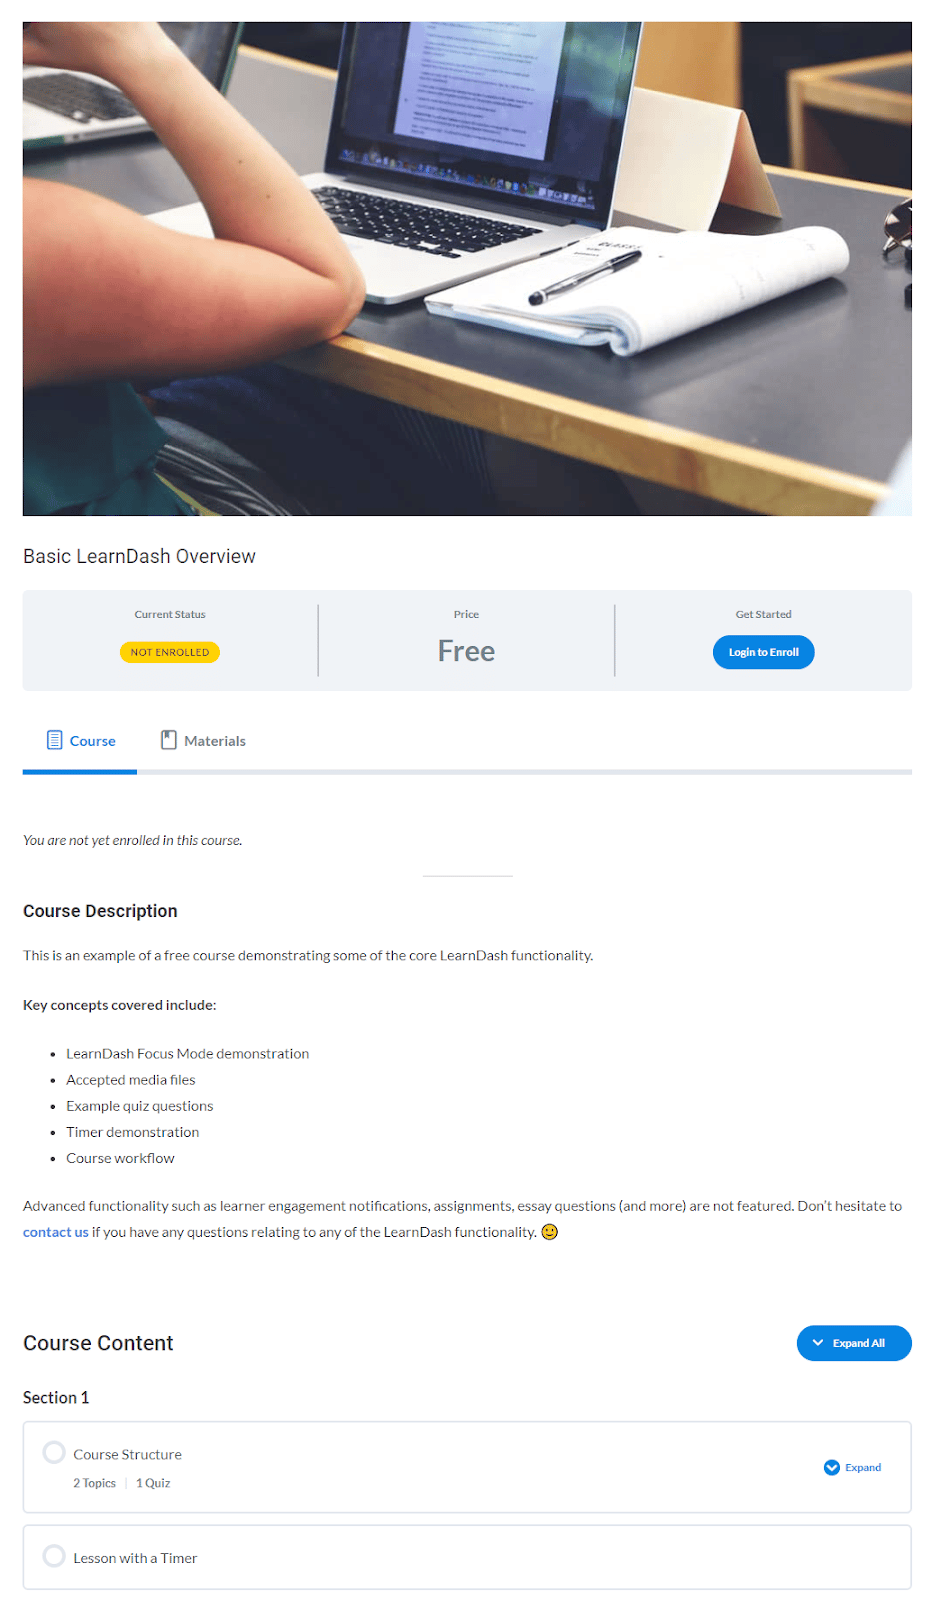
Where can I see an example of a learndash course?
To see an example, head on over to the LearnDash demo site. Justin Ferriman started LearnDash, the WordPress LMS trusted by Fortune 500 companies, major universities, training organizations, and entrepreneurs worldwide for creating (and selling) their online courses. Justin's Homepage | Twitter
Why can't I see the course Association dropdown in learndash?
Because your course step associations are no longer one-to-one, shared course steps requires you to use the LearnDash course builder. Since steps can now be used across multiple courses, the course association dropdown—normally found within lesson, topic & quiz settings—is disabled.
How to add a progress bar to the courses in learndash?
By default, no progress bar is shown. To add a progress bar to the courses in your grid: A progress bar is only shown on courses in which the user is currently enrolled, or has completed. Example showing the course progress in the LearnDash 3.0 theme. This option lets you limit the number of courses shown on the page.
Should you sell online courses with membership plugins or learndash?
One decision that many people struggle with when selling online courses is whether they should sell courses with membership plugins, or just use LearnDash. I discussed the key considerations for this in a previous article ( check it out here if you haven’t seen it already). But alas not all setups require “one or the other”.
How do I add a course to LearnDash?
Where to Add a Course Page ContentNavigate to LEARNDASH LMS > COURSES.Click on the course you'd like to edit.You will automatically land on the Course page tab.You can immediately start adding your course description.
How do I organize courses on LearnDash?
Course settings are organized into a few sections, outlined below. To access your global course settings: In the WordPress admin area, navigate to LEARNDASH LMS > COURSES. Click the Settings tab....Managing Categories & TagsNavigate to LEARNDASH LMS > COURSES.Select the Actions dropdown menu.Select your desired menu option.
What is course Grid?
The Course Grid add-on gives you the ability to create a responsive course library that can be inserted on any page or post of your site. This is a perfect feature if you have a variety of course offerings and want to give users the ability to filter through them by category.
How do I change the course grid in LearnDash?
1:0114:37Learndash course grid - Learndash Tutorial - YouTubeYouTubeStart of suggested clipEnd of suggested clipThis free add-on so let me show you where it is so I'm going to come over here on learn - and then IMoreThis free add-on so let me show you where it is so I'm going to come over here on learn - and then I'm going to come all the way to add-ons. And by the way learn - has quite a lot of add-ons which
What is LearnDash course grid?
LearnDash Course Grid (CG) 2.0 is a brand new plugin written from scratch. It supports custom templating to make it easier for users to customize the template. All the front-end aspects of the plugin including skins, cards, filter, and pagination are customizable.
How do I override a LearnDash template?
You can use either of them and can override any template in the child theme. To override the templates: Copy the template into a directory named /learndash in your child theme keeping the same file structure but removing the /templates/ subdirectory.
How do I find my LearnDash course ID?
How do I find the course ID?Navigate to LEARNDASH LMS > COURSES.Hover over the course in which you need the ID.Look at the bottom of your browser for a URL.The number after the post= part of the URL is the course ID.
Does LearnDash work with Divi?
Learndash Pages using Divi Learndash Kit Divi Learndash Kit adds the Divi Builder to your LearnDash courses, lessons, quizzes, topics, certificates, and groups. Now all of those pages can be created using the Divi Builder.
How does WooCommerce integrate with LearnDash?
Set Up Your CourseNavigate to LEARNDASH LMS > COURSES.Click on the course that corresponds with a WooCommerce product.Click the Settings tab at the top.Under Course Access Settings, look for Access Mode.Set this to Closed.In the Button URL field, enter the URL to your WooCommerce product page.
How do I customize LearnDash?
Simply install and activate. Once activated, you will find an APPEARANCE tab located under LEARNDASH LMS > SETTINGS. From here you can select a pre-made template and further customize the templates to your heart's content! Click Here to view screenshots of the pre-made templates.
How do I use LearnDash design upgrade?
From within WordPressVisit “Plugins > Add New”Search for “Design Upgrade for LearnDash”Click the “Install” button.Click the “Activate” button.There are no settings to configure. An improved design will automatically be applied to all LearnDash elements on your site.
How do I change the See More button in LearnDash?
By default the Course Grid has a “See More…” button that displays, and when selected the learner is taken to the course page. You can now change this text to whatever you wish from the Edit Course page via the “Custom Button Text” field.
The Basic Set-up
After you have created your courses in LearnDash, install the LearnDash-WooCommerce integration so that you can sell your courses using the WooCommerce shopping cart.
A Final Thought
A few things to keep in mind. First, the investment (both time and financial) to get this configuration up-and-running is certainly more extensive – although a fraction of the cost for creating an entire LMS from scratch.
About Justin Ferriman
Justin Ferriman started LearnDash, the WordPress LMS trusted by Fortune 500 companies, major universities, training organizations, and entrepreneurs worldwide for creating (and selling) their online courses. Justin's Homepage | Twitter
Many people choose to sell their LearnDash courses as it is a great way to generate income
Everything from one time sales, subscriptions, to feature-packed shopping carts can be used for selling your LearnDash courses.
About Justin Ferriman
Justin Ferriman started LearnDash, the WordPress LMS trusted by Fortune 500 companies, major universities, training organizations, and entrepreneurs worldwide for creating (and selling) their online courses. Justin's Homepage | Twitter
Course Content Shortcode
As many of you know, when you create a course in LearnDash, the lessons, topics and quizzes appear in the course content table at the bottom of the page – as shown here:
Important: Updated Profile Shortcode
If you recall, the last update we released a front-end user profile. This profile still exists, but as many of you (rightly) pointed out, the shortcode itself was poised to conflict with other plugins.
How to customize how your courses are sorted within your grid?
You can customize how your courses are sorted within your grid using a combination of the orderby and order parameters. orderby tells LearnDash which piece of information you’d like to sort by, and order determines which direction the sort should occur (i.e. forwards or backwards).
How many words should be in a short description?
It will be displayed immediately below the course title. We recommend no more than 2 sentences and somewhere around 15-25 words.
What is a course ribbon?
A course ribbon is a small piece of information displayed in the top-corner of each course in your grid. It’s displayed over top of all other content, and the text it displays depends on…. the specific user viewing your grid, and their enrollment status. the course access mode for that particular course.
Can you filter quizzes by lesson?
Change 123 to the ID of the course in which you want to display quizzes. You cannot filter quizzes by lesson or topic, only by course. All quizzes assigned at any point during the course (lesson quizzes, topic quizzes, final course quizzes) will be displayed.
Why do you need shared course steps?
Shared course steps allows you to reuse a lesson, topic and/or quiz across multiple courses. A few key reasons why you’d want to enable shared course steps include: Once shared course steps is enabled, it should not be disabled without careful consideration. Any step (lesson, topic or quiz) associated to multiple courses will lose its association ...
Does course progression always track?
Course Progression. Progression will always be tracked on a per-course basis. If a user completes a step in one course, it will not be marked complete in other courses where that step is also associated. This applies to lessons, topics and quizzes.
Do you need a course builder for shared steps?
Requires Course Builder. Because your course step associations are no longer one-to-one, shared course steps requires you to use the LearnDash course builder. Since steps can now be used across multiple courses, the course association dropdown—normally found within lesson, topic & quiz settings—is disabled.
Locating Course Access Settings
- Navigate to LEARNDASH LMS > COURSES
- Click on the course you want to edit
- Click on the Settingstab at the top of the page
- Locate the section titled “Course Access Settings”
Access Mode
- Access mode is how you determine the way in which someone can gain access to a course (completely free, free with registration required, one-time payment, recurring subscription, etc.). LearnDash has 5 course access modes to choose from.
Course Prerequisites
- Prerequisites allow you to choose another course (or courses) that a user must complete before taking this course. When selecting a course(s), you have two options: 1. Any Selected (default) If a user has completed any one of the selected courses, they will be able to access this course. 2. All Selected The user must complete all selected coursesin order to access this course. To add a c…
Course Points
- Course points are a simple way to incentive your users. They can also be used as a prerequisite for another course. To enable course points: 1. Next to Course Points, toggle the setting on
Course Access Expiration
- With course access expiration, you can choose to provide access to a course for a limited time period, based on the user’s enrollment date (aka: when they signed up for the course). 1. Next to Course Access Expiration, toggle the setting on 2. Enter the number of days the course will be available for 2.1. This will automatically count that many days from the user’s enrollment date 3…
Alter Course Access List
- WARNING We do not recommend manually updating the course access list as it can have unintended negative consequences. The course access list displays a list of enrolled users by user ID. Each user ID is separated by a comma. Due to a wide variety of add-ons & third-party plugins that affect course enrollment dynamically, this list might not always reflect all enrolled u…
Popular Posts:
- 1. which institute is best for medical transcription course in bangalore
- 2. what is financial management course
- 3. what is the best lsat prep course to take
- 4. how to write a college course curriculum
- 5. how long is billing and coding course
- 6. how long is medical assistant course
- 7. what is pmp training course
- 8. what is a course management system
- 9. what is business management course
- 10. how long is hvac course