Locate the Faculty Services module and the Rosters and Evaluations menu. Select the Class Dashboard link. On the Class Dashboard page, select Blackboard from the Option menu. Select the term for the courses you want to create in Blackboard.
Full Answer
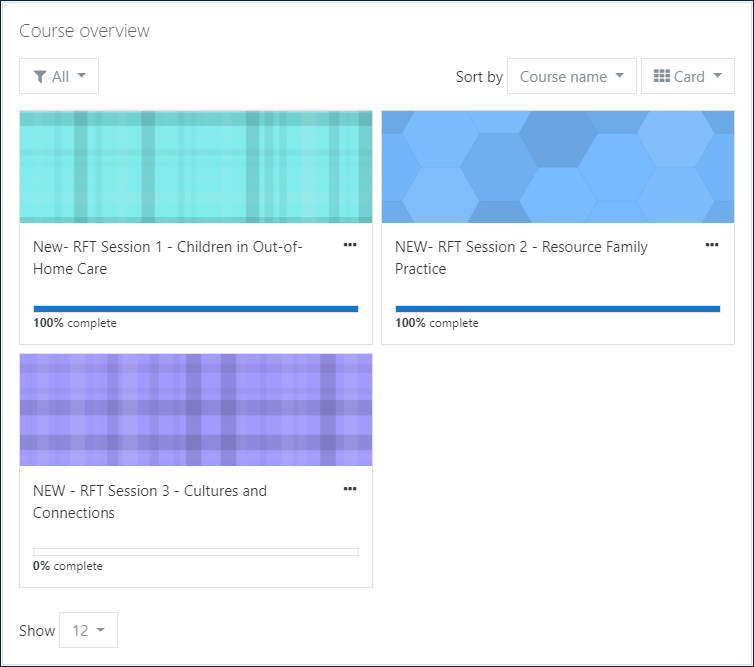
How do I make a course available in Blackboard Learn?
In the course search results, Blackboard Learn indicates unavailable courses with a red X. To make the course available, open the course's menu and select Make Available. To make a course unavailable, open the course's menu and select Make Unavailable. You can also disable courses in the database with the Snapshot Command Line tool.
How do I create a banner for my blackboard course?
A Course Banner can be used to personalise the design of your Blackboard course. You can create your own or use a free web based Banner creator such as those which can be found on Google. Control Panel 1. From your courseControl Panelexpand the Customisationsection and choose Style. Course Design Menu 2.
How do I enable event tracking in Blackboard Learn?
The Event Tracking option must be set to Yes on the Setting Auto-Reporting Options page before Blackboard Learn can record course statistics. On the Administrator Panel in the Courses section, select Courses. Search for a course. Open the course's menu and select Reports.
How do I view course Statistics in Blackboard?
You can also view reports to see which course items are aligned with specific course standards or objectives. Reports show the first 100,000 results. The Event Tracking option must be set to Yes on the Setting Auto-Reporting Options page before Blackboard Learn can record course statistics.
How do I add course tools to Blackboard?
Adding Tools to the Course MenuMake sure Edit Mode is ON.Click the (plus sign) icon above the Course Menu.Select the Tool Link.Enter a Name for the link.From the Type drop-down list, select the tool to add.Select whether the tool will be Available to Users.Click Submit.
Where is the course navigation menu in Blackboard?
The course menu is the panel on the left side of the interface that contains links to all top-level course areas. Instructors can also provide links to the tools page, individual tools, websites, course items, and module pages. Instructors control the content and tools available on the course menu.
How do I organize my courses on Blackboard?
Organize Your Blackboard Course List by SemesterLogin to Blackboard.Put your cursor on the words My Courses, then click the gear icon on the right side. ... The first checkbox is Group by Term. ... You can stop now and click Submit to save your changes.More items...
How do I make my course viewable on blackboard?
0:000:47Make Your Course Available in the Original Course View - YouTubeYouTubeStart of suggested clipEnd of suggested clipStudents cannot access your course until you make it available you can keep your course unavailableMoreStudents cannot access your course until you make it available you can keep your course unavailable while you're building it and make it available when you're ready let's take a look. The red lock
What is the course navigation menu?
The Course Navigation Menu is a series of links on the left side of your course that help you and your students access different course areas. The Course Navigation Menu is always visible on its respective pages. Depending on the structure of your course, you can choose to reorder and hide course navigation links.
Where is Blackboard control panel?
The Control Panel can be found below the Course Menu when you are in a Blackboard course. Here, you can change settings for the course, adjust the look and feel of the course, access the Grade Center, and communicate with students. Students do not see the Control Panel.
How do I change the color of my class in Blackboard app?
Tell meGo to the course's Control Panel.Select Customization -> Teaching Style.Under the Style section, choose Text Color for the links.Use the color switcher to choose your color or enter FFFFFF (white) for its Color Value. ... Click Apply to save the color.More items...•
How do you update a course on Blackboard?
View or edit course propertiesOn the Administrator Panel in the Courses section, select Courses.Search for a course.On the Courses page, open a course's menu and select Edit.Edit the course properties. You can't change the course ID.Select Submit.
How do I hide courses on Blackboard app?
0:100:49How to Hide Courses in Blackboard - YouTubeYouTubeStart of suggested clipEnd of suggested clipIn the upper right hand corner of this box click on the gear icon on the personalize my courses pageMoreIn the upper right hand corner of this box click on the gear icon on the personalize my courses page simply uncheck the boxes to the right of the course that you would like to hide and click Submit.
How long does it take for courses to show up on Blackboard?
When you register for a class you are automatically enrolled into the Blackboard system for that course within approximately 6 hours. However, there could be several reasons why you may not see a Blackboard course. I'm a new or returning student who registered for courses.
Why did my class disappeared from Blackboard?
If you log into Blackboard Learn and see that your courses are missing it could mean one of several things. Most commonly, students will have a hold on their account and have been temporarily de-registered from their courses. To troubleshoot, please log into myOswego to see if you have any holds on your account.
Why does my Blackboard course say private?
The note “private” in your course title means that the course has not yet been made available to your students. To make your course available, follow the How to Make Your Course Available to Students instructions.
Step-by-Step Guide
Please Note: If you plan to use a combined Blackboard course, do not request the individual sections as instructed below. See How to Combine Courses in Blackboard for instructions.
How to Request Your Blackboard Courses
Please Note: If you plan to use a combined Blackboard course, do not request the individual sections as instructed below. See How to Combine Courses in Blackboard for instructions.
How to make a course unavailable on Blackboard?
To make the course available, open the course's menu and select Make Available. To make a course unavailable, open the course's menu and select Make Unavailable.
What is Blackboard Learn?
Blackboard Learn provides several reports to help you monitor user activity in forums, groups, and content areas associated with courses. You can also view reports to see which course items are aligned with specific course standards or objectives.
How to enable course structure?
On the Administrator Panel in the Courses section, select Course Settings. On the Course Settings page, select Course Menu and Structures. On the Course Menu and Structures page, select the check box for Enable Course Structures. To disable them, clear the check box.
What is Quick Setup Guide?
The Quick Setup Guide helps instructors choose elements for their courses such as a course structure and a theme. They can also edit the course name and description, and access topics and video tutorials to help them learn more about building their courses.
How to view child courses?
Child courses have limited options in the menu and need to be managed from their associated master courses. On the Administrator Panel in the Courses section, select Courses. Search for a course. On the Courses page, open the menu and select Edit.
What are the two properties of Blackboard Learn?
When you create a course, Blackboard Learn requires only two course properties: a course name and a course ID . However, several other course properties control important aspects of courses, such as when they're available, whether guest users are permitted, and where the course appears in the course catalog.
What is a course theme?
Course themes add a background image to the course display and change the color of the user interface, including the course menu, buttons, and controls. The theme can be changed again at any time. Applying a theme doesn't affect course content or a chosen course structure.
What happens if a course is unavailable on Blackboard?
If your course is unavailable, access is determined by course role. Blackboard administrators, instructors, course builders, teaching assistants, and graders can see and access unavailable courses from the My Courses tab and the course list, but they're marked as unavailable. Students can't access unavailable courses regardless ...
How to change course availability?
Open a course card's menu to change your course availability. You can also change your course's status on the Course Content page. You can make your course private while you add or experiment with content, and then open it to students when you're ready. Students see private courses in their course lists, but they can't access them.
Can you mark a course as complete?
Mark a course as complete. You can choose to set your course to Complete when the course has ended, but you can no longer make changes to it . Students can access the content, but they can't participate in the course any longer. For example, they can't reply to discussions or submit assignments.
Access the Control Panel
1. From your course Control Panel, expand Users and Groups and click on Users ..
Click on Browse
3. If you know the University username of the person you wish to add you can enter it directly into the Username box and then click on Submit, without needing to click on ‘Browse’. Note that when entering a username you do not need to include @soton.ac.uk.
Last Name
4. You may search by Username, First Name, Last Name, or University Email Address . Usually you will want to select Last Name.
Enter Last Name
5. Enter the Last Name of the person you wish to find and click on Go.
Select Role
8. The username of the person you selected will appear in the box. You can add more people by clicking on browse again and repeating the above process.
Submit
10. Enrolment Availability should be left at Yes. If you select No then the user will be enrolled on the course but unable to access it.
Control Panel
1. From your course Control Panel expand the Customisation section and choose Style.
Course Design Menu
2. Scroll down to Section 5 “Select Banner” and click on Browse My Computer and select your Course Banner file in JPG, GIF, or PNG format.
Banner Dimensions
We recommend choosing a Banner size of 1618 x 300 with 72 DPI (dots/pixels per inch).
How to enroll multiple users in a course?
Enroll users in a course. If you want to enroll multiple users in a course, enroll them in groups based on their course roles. You can select one role per set of users. For example, if a course has one or more instructors, enroll them first. Then, move on to students. Optionally, you can enroll all users with a role of Student ...
What happens when you merge a course into a master course?
When you merge a course into a single master course, its students are enrolled automatically in the merged master course. However, when students enter the course, they'll see only the course ID of the child course they were originally enrolled in. To learn more about merging courses, see Merge and Separate Courses.
Can you change a user's role in a course?
You can change a user's role in a course at any time. For example, if an instructor needs an additional assistant during the term, you can change a user's role from Student to Teaching Assistant for that course.
Can you delete a user from Blackboard?
Removing users from a course doesn't delete the users from Blackboard Learn. After you remove a user from a course, the user can no longer access course materials or user interactions. The user is no longer enrolled in the course. You can't automatically restore users to courses after you remove them.
Popular Posts:
- 1. which institute is best for medical transcription course in bangalore
- 2. what is financial management course
- 3. what is the best lsat prep course to take
- 4. how to write a college course curriculum
- 5. how long is billing and coding course
- 6. how long is medical assistant course
- 7. what is pmp training course
- 8. what is a course management system
- 9. what is business management course
- 10. how long is hvac course